In the Genetics Lab
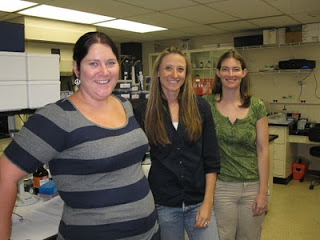
The lab equipment seemed daunting at first (mostly because it is all very expensive and delicate!) but my comfort level has greatly improved in the last few weeks.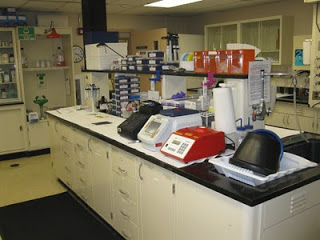 So to start, we take a small piece of manatee tissue that has been collected and preserved in the field. Using a very sterile procedure (because other DNA, including our own, can easily contaminate the sample) a piece about the size of a pea is cut and put in a vial with a chemical that breaks down the proteins and dissolves the tissue into individual cells.
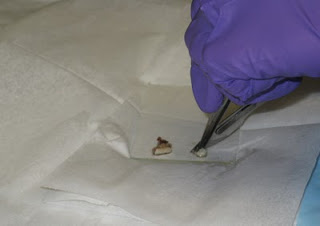 The sample is gently rocked in a warm bath overnight to allow the chemical to break up the tissue… the warm bath part sounded good to me!
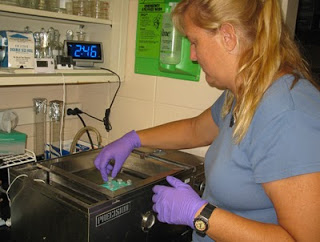 And then we add a series of chemicals to isolate the DNA. All of this involves using a pipette to mix extremely tiny amounts (measured in micro liters) into vials, centrifuge (spin) it and then remove a tiny layer of liquid off the top of the vial using a pipette. It definitely takes practice and a steady hand! Some of the chemicals we use are not friendly, so we have to work with our arms inside a fume hood (which has a fan to keep toxic chemicals from bothering us or getting into the lab). It’s a bit awkward until you get used to it.
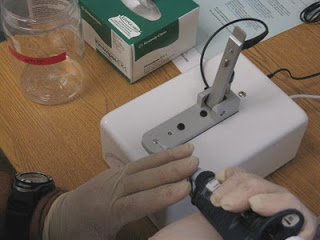
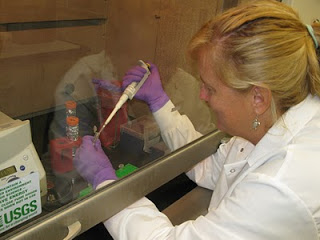 Once that’s done, we add primers (specific, short DNA segments) to the DNA and it is amplified millions of times in a heating and cooling process (in a special machine) known as PCR (Polymerase Chain Reaction). The entire process takes about 12 hours from start to finish, there’s lots of room for errors and at the end we hope there’s some DNA in our vials! Definitely not as easy as it looks on CSI. To test the sample to see if we got DNA, we use an instrument called a nanophotometer (photo below), which shoots a beam of light through a tiny droplet of the sample and gives a general indication of whether or not DNA is present, although I’ve learned that other contaminants such as proteins can give a false reading. For all the samples that get good readings, we then do a purification procedure (more pipetting and vials!) to maximize the DNA.
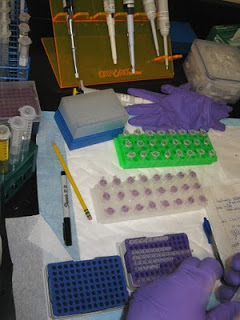
 Along the way we transfer the sample into many different vials, all of which need to be labelled with the correct ID number. It’s alot like cooking, you follow the recipe but because of the quality of the ingredients, things don’t always turn out the same way. Much of the manatee tissue I have is from carcasses that were badly decomposed or hunters who cooked manatee meat, all of which degrades the DNA. So I’ve had a few samples fail, but most are yielding something, and Maggie is helping me tweak the techniques to have the best possibility of getting DNA out of difficult samples.
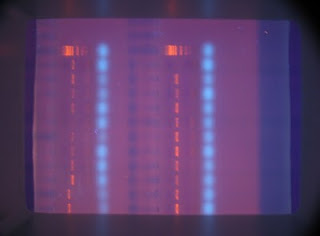
 After each procedure we run an electrophoresis gel which indicates if DNA is present (the orange bands). We mix gelatin up and pour it into a mold, the samples are inserted into tiny wells in the gel, an electric current passes through it and we can see the DNA bands in reference to a ladder (large group of orange bands at the top of the photo). The brightness of the orange band is an indicator of the quantity of DNA in the sample, so a fainter band has less DNA than a brighter one. We then photograph each gel to keep a record the results.
  Samples that have DNA are sequenced at the University of Florida to tell us what the DNA strand contains. They also have genotyping machines… here Bob is showing me one as he starts running a set of samples.
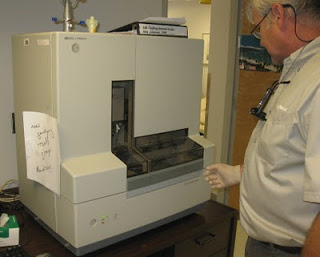 So we’ll see what results I get! I have over 200 samples from 10 countries so far, and this is just the beginning… I’ve only run the first 10 samples so I have a long way to go!

